You have a new electronics store idea. The products are ready, the brand is decided, and your nopCommerce installation is sitting there waiting for its first move. Then comes the question most people overlook: what should you build first?
Electronics ecommerce looks simple from the outside, but shoppers do not browse gadgets the same way they browse t-shirts. Someone buying a laptop, smartphone, or smart device rarely makes a decision based on a picture and a price tag alone. They want to compare processors, storage, compatibility, features, and a dozen other details before they ever reach checkout.
nopCommerce already gives you the tools to handle all of this. The tricky part is knowing how to bring those pieces together in the right order. Many first-time setups lose weeks by adding products before the catalog structure is ready, creating filters without a clear plan, or choosing a theme before understanding what the storefront actually needs
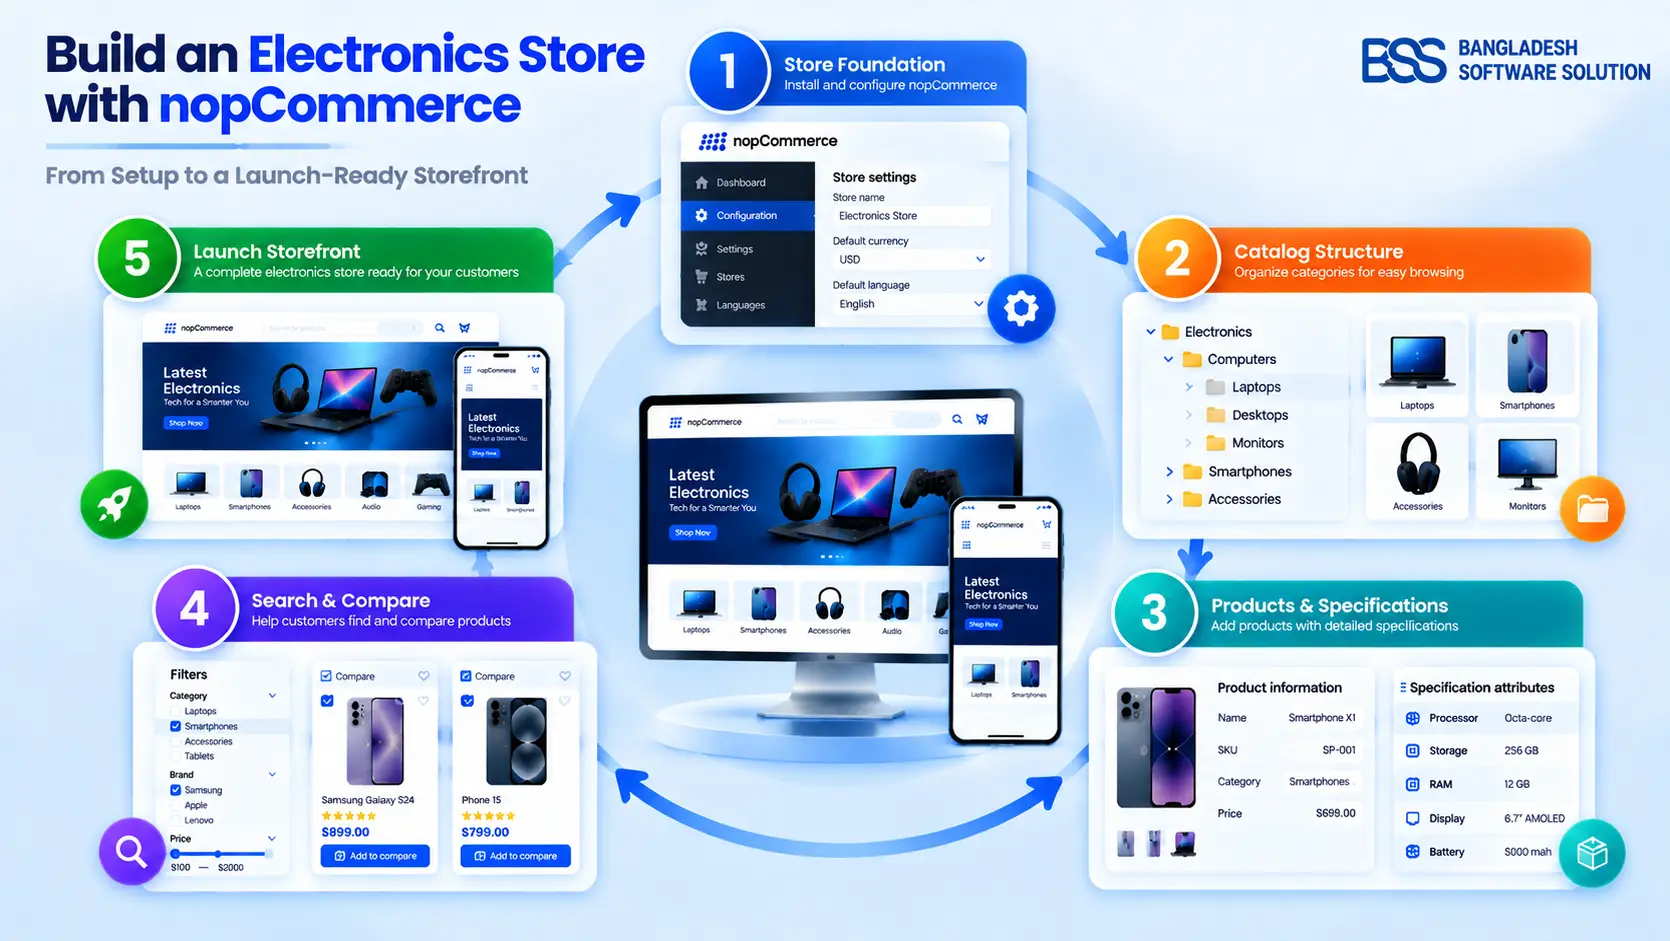
The build order this guide follows: understand what electronics shoppers need, set up the nopCommerce foundation, structure the catalog, add products, configure attributes and specifications, optimize product pages, tighten search and filtering, wire up checkout and shipping, polish the storefront, bring in a purpose-built theme to speed up the last mile, then run through a launch checklist.
1. Understand what an electronics store needs before you build it
Buyers in this category shop differently than they do for clothing or groceries. They read spec sheets, compare two or three models side by side, and check the warranty before they check out. Building against that behavior from the start saves you from bolting features on later.
2. Install and configure the nopCommerce foundation
The installation process, including server requirements, database setup, and the initial setup wizard, is already covered in detail in the official nopCommerce documentation.
Once your store is up and running, configure these foundation settings before adding products:
- Set your store information. Add your store name, URL, and essential business details. These settings define the basic identity of your storefront and customer-facing pages.
- Configure currency settings. Set your primary currency and add additional currencies if your store will support customers from different markets.
- Set language preferences. Choose the default language for your storefront and add additional languages if required for your customer base.
- Review customer and order settings. Configure the options that control customer registration, checkout behavior, and order management before your catalog starts growing.
These settings may seem small at the beginning, but changing them later can become more complicated once your catalog, customers, and orders start growing.
3. Build your catalog structure before adding products
Adding products feels like the exciting part of launching a store. You upload images, enter prices, and suddenly the catalog starts looking alive. The problem is that a poorly planned catalog becomes expensive to fix later, especially when you have hundreds or thousands of electronics products.
Electronics shoppers usually arrive with a specific product in mind. They are not just browsing "gadgets"; they are looking for a smartphone with a certain storage size, a laptop with a specific processor, or a monitor that fits a particular requirement. Your category structure needs to help them reach that product without making them dig through a confusing menu.
A simple rule: Build your categories around how customers search, not how suppliers organize their product lists.
A typical electronics store starts with broad categories that match how customers think about products. From there, each category can be narrowed down into subcategories and product groups that make browsing easier.
| Main category | Subcategory | Example product group |
|---|---|---|
| Computers | Laptops | Gaming Laptops |
| Phones | Smartphones | Android Phones |
| Audio | Headphones | Wireless Headphones |
| Smart Home | Security Devices | Smart Cameras |
Avoid creating too many levels just because you can. A category tree with five or six layers may look organized from the admin side, but it often creates unnecessary clicks for shoppers. Keep categories broad enough to browse easily and use specifications, attributes, and filters to handle the details.
Once your structure is clear, adding products becomes faster, filters become more useful, and customers spend less time searching for what they need.
4. Create your products with electronics buyers in mind
Adding a product is easy. Creating a product page that helps someone choose between five similar gadgets is where the real work begins.
Electronics shoppers rarely buy based on an image and a price alone. They compare models, specifications, compatibility, and small differences that can decide which product they choose. That is why consistency matters across your entire catalog.
Keep your catalog consistent: Use the same naming style for model numbers, maintain a clear SKU format, and upload multiple product images so customers can understand what they are buying.
Your product descriptions should do more than repeat marketing phrases. Use the short description to highlight the main benefits, while the full description gives detail for shoppers who want to verify specifications before purchasing.
A well-prepared product setup also makes future improvements easier, because your specifications, filters, and search features all depend on accurate product information.
5. Configure attributes and specifications
This is where an electronics catalog starts becoming useful. A product name and image can attract attention, but specifications and attributes are what help shoppers decide between similar products.
In nopCommerce, these two systems serve different purposes. Understanding when to use each one keeps your catalog easier to manage and your product pages easier to compare.
For specifications, organize information into meaningful groups such as Display, Performance, and Connectivity instead of creating one long list. A structured specification layout makes product pages easier to scan and helps customers compare products faster.
Electronics shoppers do not need more products to choose from. They need a clearer way to understand the differences between the products they already found.
BSS Engineering
6. Optimize the product page itself
Once your products, specifications, and variants are ready, the product page becomes the place where customers decide whether to buy. For electronics, small details can make the difference between a confident purchase and a customer leaving to search somewhere else.
| Element | Why it matters for electronics |
|---|---|
| Specifications easy to find | Electronics buyers usually check technical details before making a decision. Keep important specifications visible and easy to scan. |
| Multiple product images | Show different angles, ports, buttons, accessories, and physical details that customers cannot understand from one image. |
| Warranty and return information | Clear policies reduce uncertainty, especially for higher-value electronics purchases. |
| Related products and accessories | Help customers discover useful additions such as cases, chargers, cables, or compatible accessories. |
The goal is not to overload the product page with information. It is to organize the right information so customers can quickly understand the product and feel confident about their choice.
7. Improve search and filtering
All the effort you put into specifications only pays off when shoppers can actually use that information to find products faster. In an electronics store, filters are what turn a large catalog into a guided shopping experience.
Enable Allow filtering for the specification attributes that matter most in each category, and turn on Compare products from Configuration → Settings → Catalog settings so customers can compare products side by side.
Do not test filters only with sample products. Try them on your busiest categories after real products are loaded. Missing or inconsistent specification data can make filters confusing for shoppers, causing products to be left out or making comparisons harder than they should be.
8. Make the storefront look and feel professional
By this stage, your catalog is structured, products are ready, and shoppers can easily find the information they need. The next step is creating a storefront experience that feels trustworthy and easy to use.
Focus on the details customers notice immediately: consistent typography, clear navigation, a homepage that highlights your strongest categories, fast-loading product images, and a responsive layout that works smoothly across desktop and mobile devices.
nopCommerce provides a flexible foundation that can be customized for different industries. However, creating a storefront specifically designed around electronics shopping often requires additional design decisions, from product presentation and category layouts to comparison-friendly experiences.
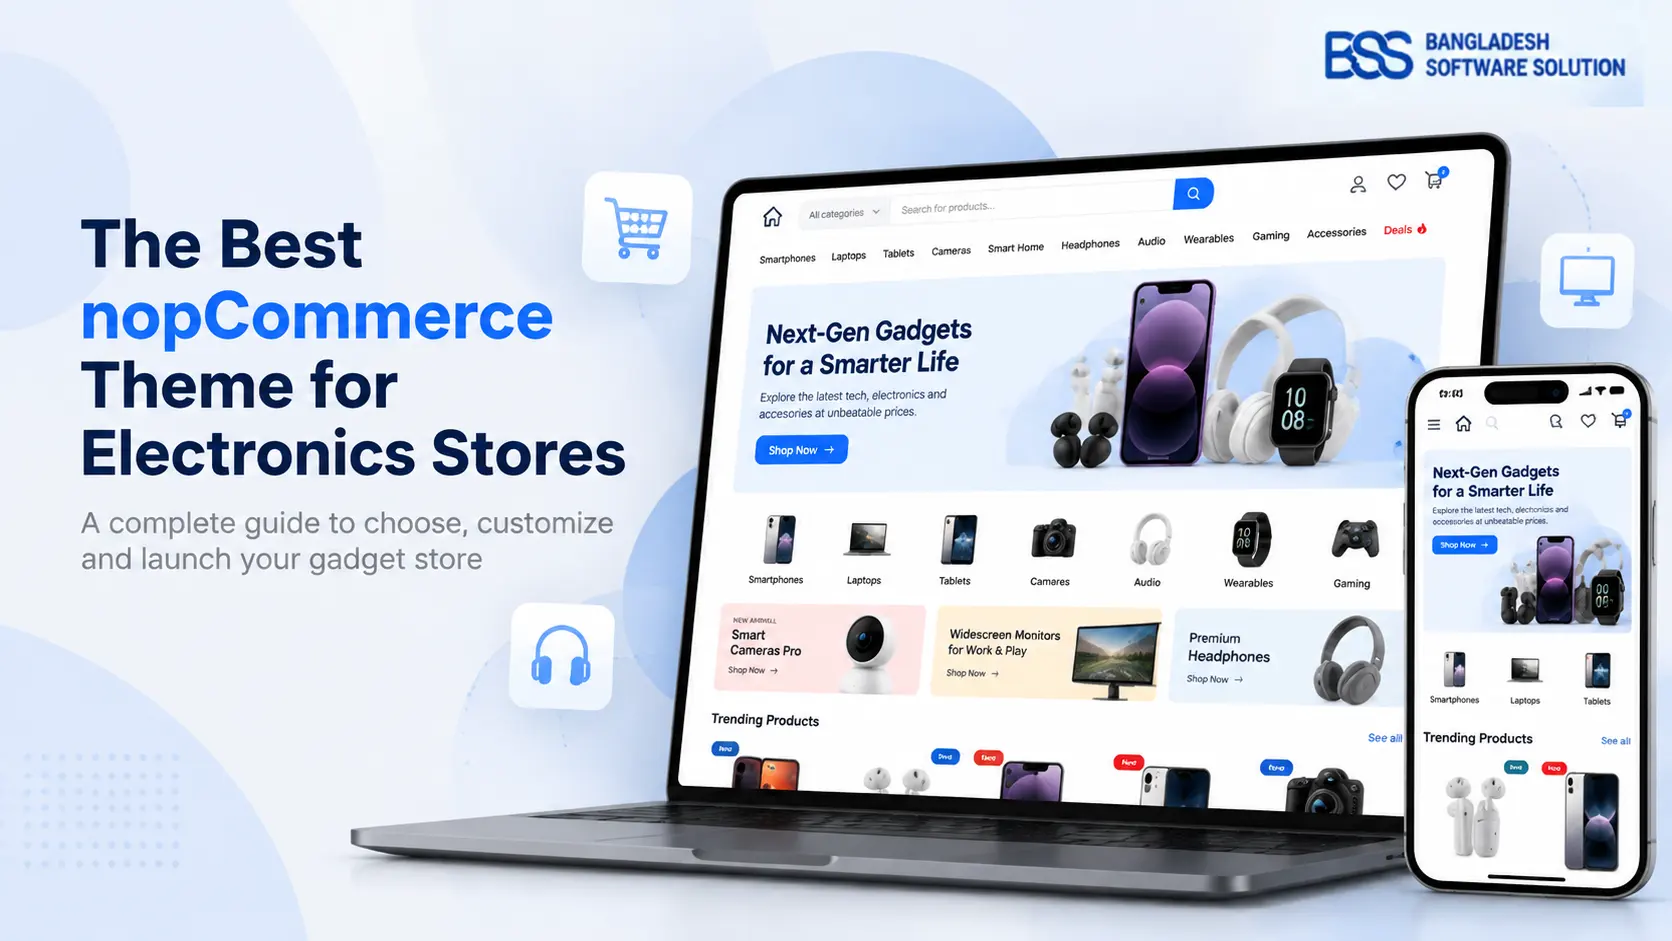
If you want to reduce the time spent designing these elements from scratch, you can start with a theme built specifically for electronics stores. A category-focused theme provides a ready-made design foundation while still allowing you to customize the experience around your brand and products.
9. Speed up development with NopGadget
Building an electronics store from scratch gives you complete control, but creating every storefront detail takes time. A theme built specifically for this category can help you start with a stronger foundation instead of designing every element from the beginning.
NopGadget is a responsive, multistore nopCommerce theme designed for electronics-focused stores. It provides a product-centric storefront experience where categories such as smartphones, accessories, and smart devices can be presented in a clean and organized way across desktop and mobile devices.
It also includes a collection of supporting catalog and merchandising features that reduce the need to assemble every storefront element separately. If your products, categories, and specifications are already prepared, starting with a theme designed for electronics can save significant design and development effort while still leaving room for customization.
10. Run the final launch checklist
Before opening your electronics store to customers, review the complete experience from a shopper's perspective. A final check helps catch small issues that can affect product discovery, purchasing, and trust.
Before you launch
-
Product categories, attributes, and specifications are organized consistently.
-
Product pages display accurate images, descriptions, pricing, and important buying information.
-
Search, filtering, and product comparison work correctly with real catalog data.
-
Payment, shipping, and order flows have been tested from a customer's point of view.
-
Warranty, return information, and customer support details are easy to find.
-
The storefront works smoothly across desktop and mobile devices.
Let NopGadget carry the storefront polish
A product-centric, spec-friendly layout with a plugin bundle included, so the last stage of the build takes days rather than weeks. If you would rather have it installed, configured and tested for you, BSS's nopCommerce engineers can handle the full setup.
Frequently Asked Questions
Final Thoughts
An electronics store on nopCommerce comes together in the order above: understand the buying behavior first, build the catalog and its specs before touching the theme, wire up checkout for every region you sell in, then bring in a theme built for this category to finish the job quickly. Skip the order and you end up styling around gaps instead of building on a foundation.
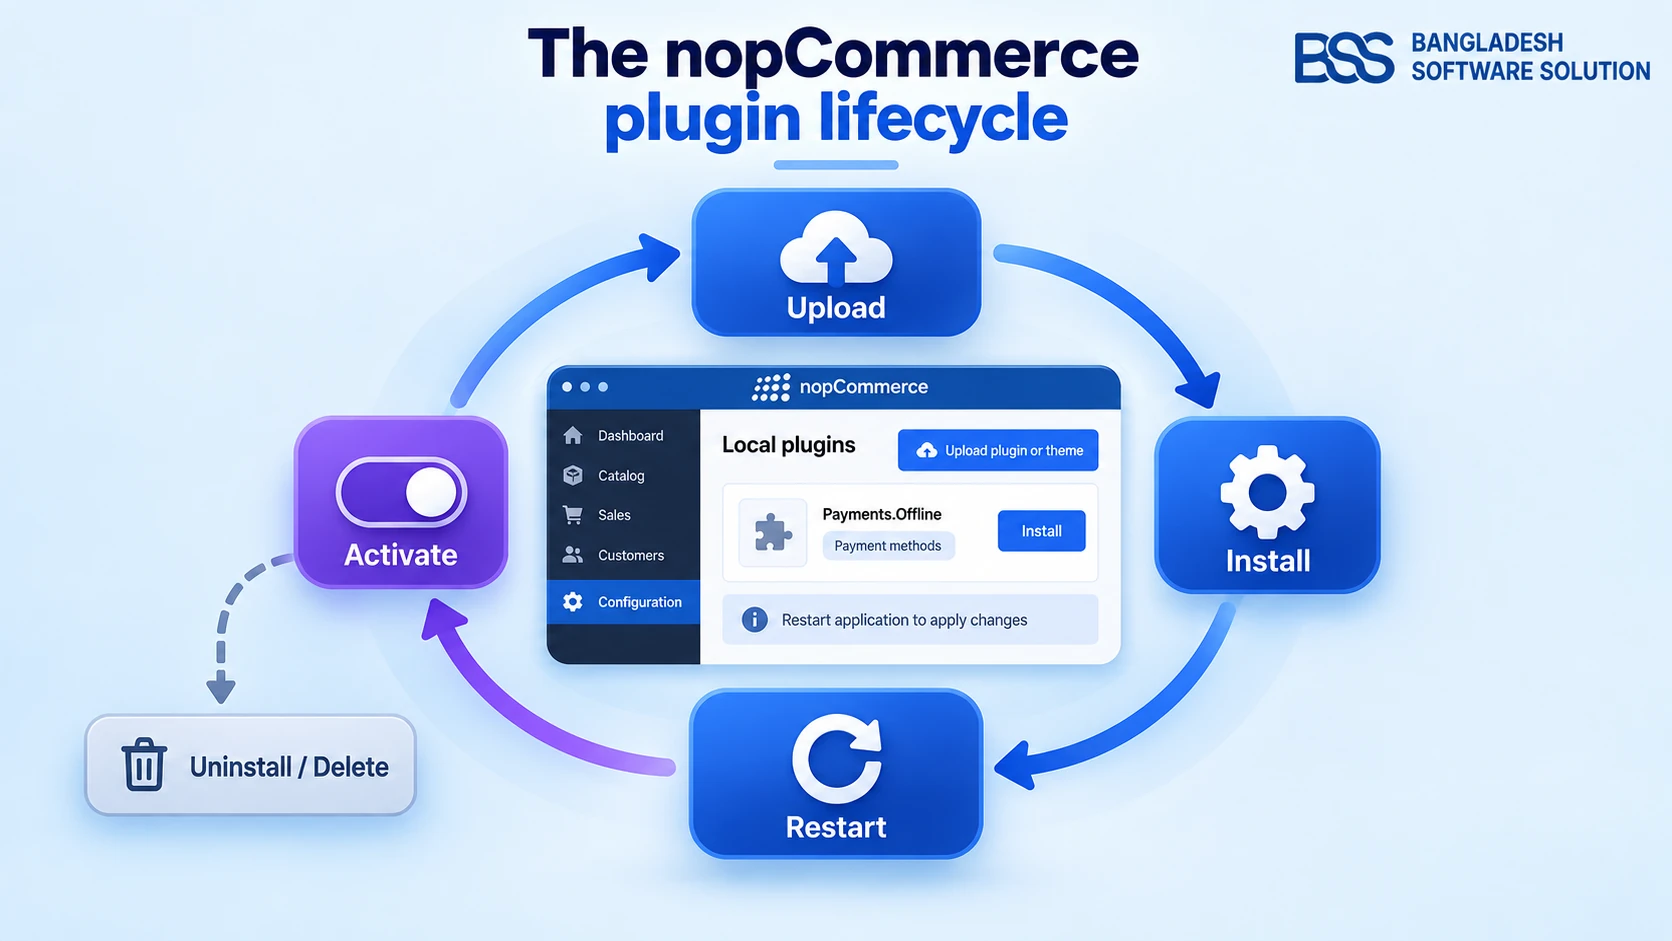
For the plugin side of this build, our guide on finding and vetting plugins on the nopCommerce Marketplace is a useful next read, and once an extension is ready to go live, our plugin installation guide covers the steps.