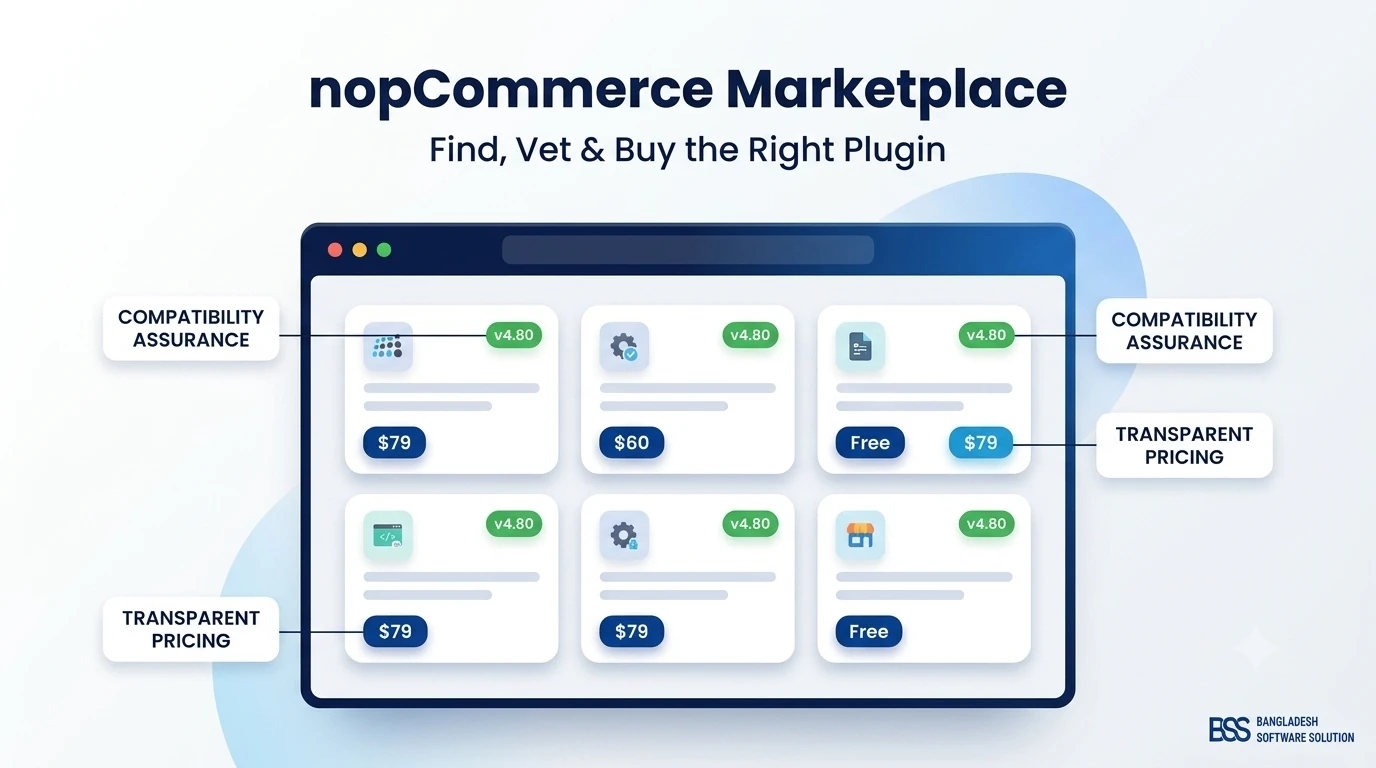
If you've spent any time in the nopCommerce admin panel, you already know the platform ships lean by design — payment methods, shipping providers, and marketing tools are added as plugins, not bolted-on defaults. That's where the nopCommerce Marketplace comes in: it's the official directory where third-party developers and nopCommerce itself list the extensions that turn a bare install into the store you actually need. The problem is that browsing it feels less like an app store and more like hiring a contractor sight-unseen — every listing is a purchasing decision, not a one-click install, and a wrong pick can cost you real money and a broken checkout flow.
This guide walks through how the Marketplace is organized, a practical checklist for vetting a plugin before you pay for it, the real trade-offs between free and paid listings, and how to install a purchased plugin without putting your live store at risk.
What Is the nopCommerce Marketplace?
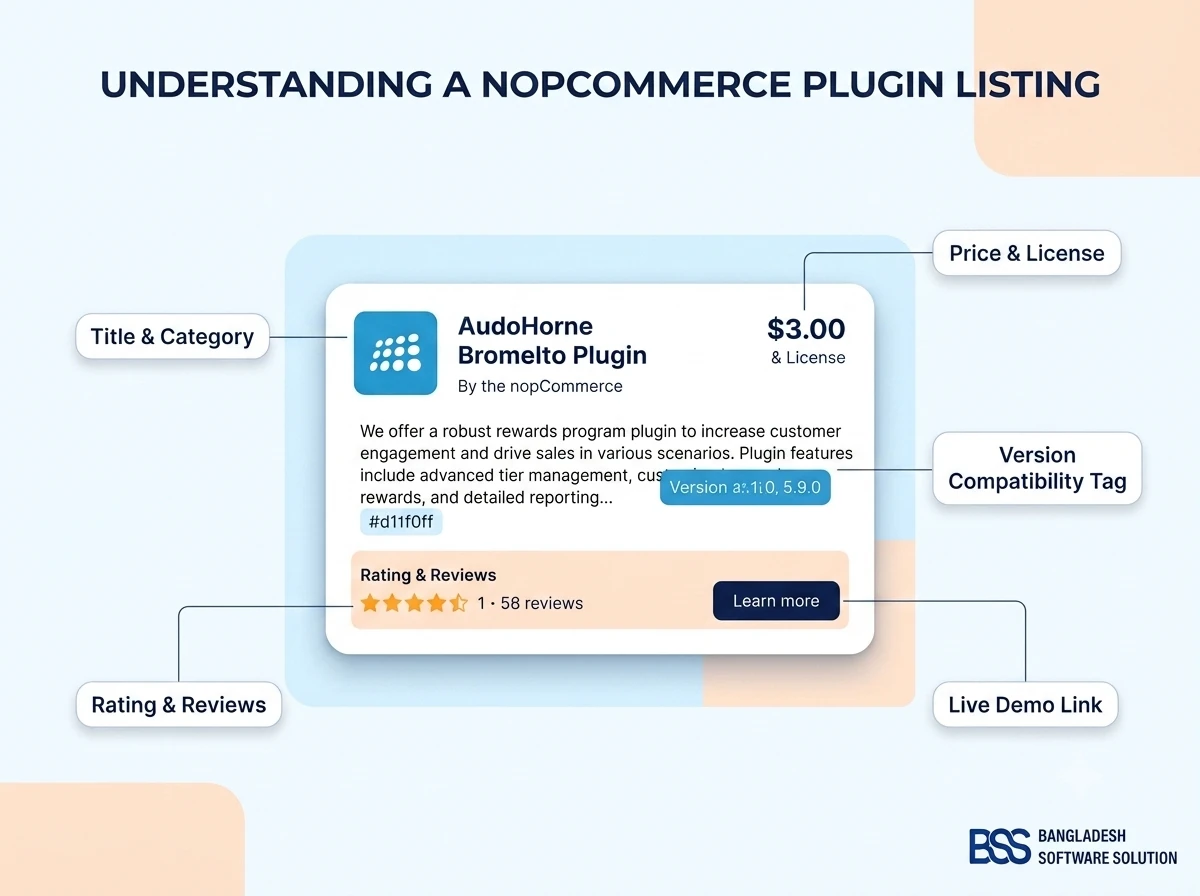
The nopCommerce Marketplace is the platform's official plugin and theme directory — separate from the free, open-source nopCommerce download itself. You can install and run nopCommerce without ever visiting it; the Marketplace only comes into play once you need functionality the core platform doesn't ship with, like a specific payment gateway, a product feed for a marketplace integration, or a B2B pricing engine. Listings come from independent developers and agencies (nopCommerce itself lists a handful too), and each one is a self-published storefront page: a price, a description, a compatibility tag, and — for the vendors worth trusting — screenshots, a changelog, and a live demo link.
Key Fact: Every listing shows which nopCommerce versions it was built and tested against. A mismatched version tag is the single most common reason a purchased plugin fails to install or breaks something else on your store — confirm your store's exact nopCommerce version before you buy anything.
Free (Community) vs. Commercial Listings
Free and paid plugins sit side by side in the same categories, and price alone isn't a reliable signal of quality. Free listings tend to cover small, self-contained additions — an extra content widget, a minor admin convenience, a simple CMS tweak — maintained as a side project or a portfolio piece. Commercial listings more often cover functionality that's genuinely hard to get right from scratch: payment and tax integrations, shipping rate calculators, marketing automation, or anything that touches checkout. That's not a hard rule, but it's a useful starting expectation when you're deciding how much scrutiny a given plugin deserves.
New to the platform itself, not just the Marketplace? Our beginner's guide to nopCommerce covers what the core platform does before you start layering plugins on top of it.
How to Search and Filter the Marketplace
The Marketplace is organized into functional categories — payments and checkout, shipping and fulfillment, marketing and SEO, admin and reporting, content and merchandising, and search, among others — and most listings can be filtered by price and by compatible nopCommerce version. Filtering by version first, before you even look at price, saves you from falling in love with a plugin that was never built for your store's actual nopCommerce release.
Search by the Problem, Not the Buzzword
Marketplace search only matches the text a vendor actually wrote into their listing, so vague searches return vague results. You'll get further searching for the specific business problem — "split payment," "age verification," "product bundle pricing" — than for generic terms like "checkout plugin." If a vendor has one plugin that fits, it's worth opening their full portfolio too; a developer who's built one solid payment integration has often built several.
- Filter by version before price. A cheap plugin that doesn't install is more expensive than a well-matched one that costs more.
- Search using the exact feature name you'd use to describe the problem to a developer, not a generic category term.
- Check the vendor's full listing history, not just the one plugin you found — it tells you whether they're an active shop or a one-off.
The Plugin Vetting Checklist
Before you pay for anything, run the listing through the same checklist every time. It takes ten minutes and it's the difference between a plugin that works and one you end up asking a developer to fix or replace.
Before You Buy, Confirm:
- ✓Version compatibility matches your store's exact nopCommerce build, not just "a recent version."
- ✓Last updated within the current or previous major nopCommerce release cycle — a stale plugin is a compatibility risk on your next upgrade.
- ✓The vendor offers a live demo store you can click through yourself, not just static screenshots.
- ✓Reviews and ratings exist, and the vendor visibly responds to negative feedback rather than ignoring it.
- ✓The listing states clearly whether you get full source code or a compiled DLL only, and what that means if you need to customize it later.
- ✓The support and update window included in the purchase price is documented, not left vague.
- ✓No obvious conflict with plugins you already run — check the vendor's compatibility notes or ask before buying.
Double-Check the Manifest Yourself
Once you've downloaded a plugin package, you don't have to take the listing's word for version compatibility — every nopCommerce plugin ships a manifest file that states it directly:
{
  "Group": "Payment methods",
  "FriendlyName": "Example Payment Gateway",
  "SystemName": "Payments.ExampleGateway",
  "Version": "1.3",
  "SupportedVersions": [ "4.80" ],
  "Author": "Example Vendor"
}
Open the plugin's plugin.json file and check SupportedVersions before you install it — it's a five-second check that catches a mismatch the marketplace listing text might have gotten stale on. Bad plugin behavior doesn't always show up as an install error, either: it's also a common, easy-to-miss cause of runaway resource usage. If your store has slowed down after adding new extensions, our nopCommerce high memory usage guide walks through how to isolate which plugin is responsible.
Free vs. Paid vs. Custom-Built: Choosing the Right Path
Once you know what you need, the real decision isn't just "which listing" — it's which of three paths fits the job: a free plugin, a paid one, or a custom build.
| Criteria | Free (Community) Plugin | Paid (Commercial) Plugin |
|---|---|---|
| Typical use case | Small utility tweaks, simple widgets, minor content or CMS helpers. | Payment gateways, shipping rules, B2B pricing, marketing automation — revenue-critical features. |
| Source code access | Usually open or included. | Varies by vendor — confirm at checkout (see the vetting checklist above). |
| Support & updates | Community forum, best-effort only. | Vendor support included for a defined window, renewable. |
| Typical cost | $0 | One-time, per-domain license fee; renewal usually needed for continued updates and support. |
| Best for | Getting a small feature live fast, with low risk if it's wrong. | Store-critical functionality where reliability and support matter more than upfront price. |
There's a third option the Marketplace search box won't surface, and it's worth considering whenever your requirement is specific enough that no listing quite fits: building the plugin yourself, or having a developer build it for you. It costs more upfront than buying, but you control the source code, the support timeline, and the exact feature set — with none of the "will this vendor still be maintaining it in two years" risk. If that's the direction you're leaning, our guide to building a nopCommerce plugin covers what that actually involves. Plugin spend — free, paid, or custom — is also just one line item in your store's total cost of ownership; our breakdown of what a nopCommerce store costs to build puts it in context alongside hosting, development, and maintenance.
Buying and Installing a Plugin Safely
Checkout on the Marketplace works like any digital storefront: add the plugin to your cart, pay, and the package becomes available in your account's order history as a downloadable .zip file. Many commercial plugins also tie the license to your store's domain, so you may need to enter an activation key or register the domain with the vendor's own licensing portal before the plugin will run — check the listing's setup instructions for the specific steps.
Never Install an Unfamiliar Plugin Directly on Your Live Store
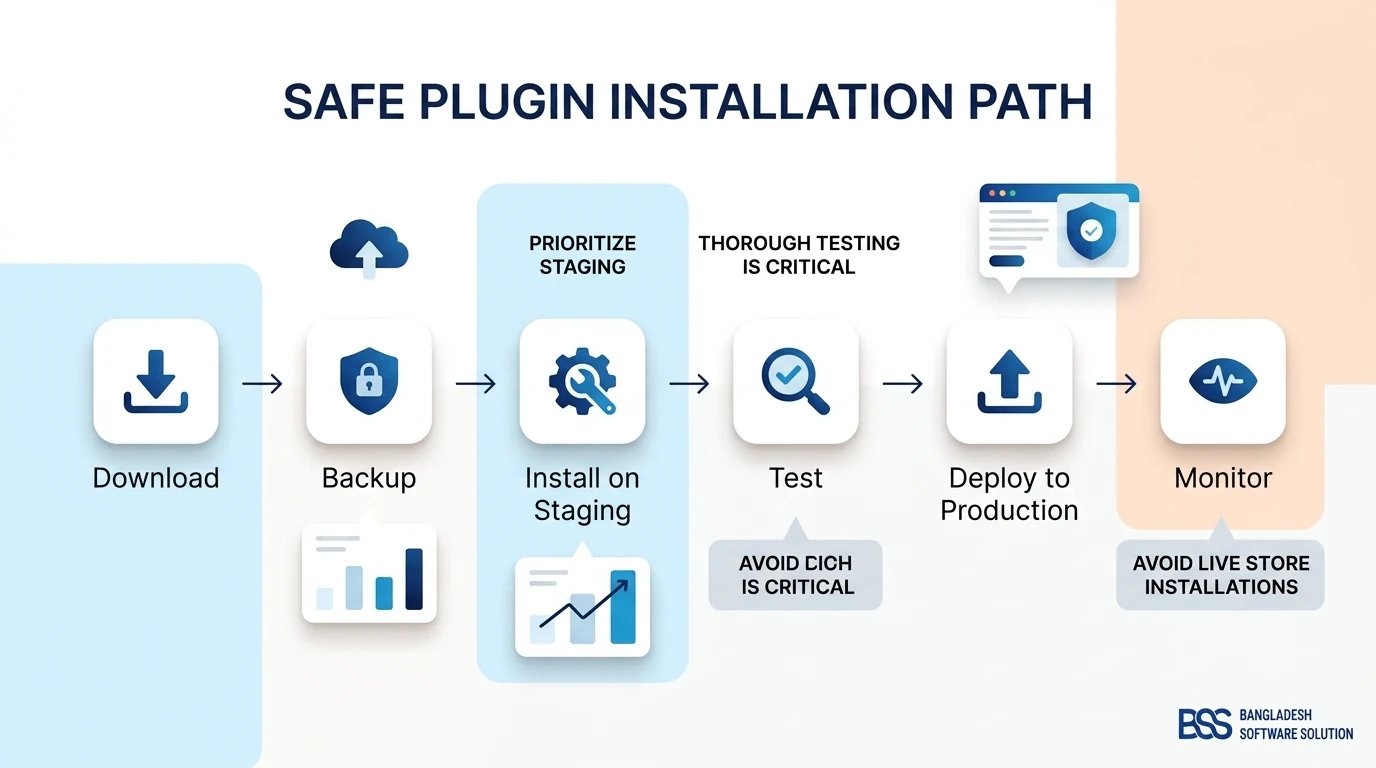
Install and test it on a staging copy first, and take a full database and file backup even if you're "just testing." A plugin doesn't need to be malicious to cause damage — a poorly written database migration or a conflicting event handler can affect more than the plugin's own tables.
The Install Checklist
- Download the plugin package from your Marketplace order history.
- Back up your staging database and files before touching anything.
- Upload the .zip via Admin → Configuration → Plugins → Upload plugin or theme.
- Install the plugin and restart the application when prompted.
- Configure its settings and enter any required license key.
- Test the exact flow the plugin touches — checkout, product page, admin report — before it goes anywhere near production.
- Only after staging checks out clean, repeat on production during a low-traffic window, with the same backup step first.
Keeping Plugins Updated After You Buy
A plugin purchase isn't a one-time event — it's the start of an ongoing dependency you now have to track. Keep a simple record of every plugin you've bought: the license key, the vendor's support contact, and the date your support and update entitlement expires. It's easy to lose track of this across a handful of plugins bought over a couple of years, and a lapsed license can leave you unable to get an update exactly when you need one, like right before a security patch or a nopCommerce core upgrade.
Before any nopCommerce core upgrade — not after — check every installed plugin's compatibility notes against the version you're upgrading to. A plugin that's worked flawlessly for two years can still fail to load, or fail silently, on a new major version if the vendor hasn't tested against it yet. If a plugin genuinely goes unmaintained, you have three realistic options: wait and hope for an update, replace it with a different Marketplace listing, or commission a custom fix. None of those are free, so budget for plugin maintenance the same way you'd budget for hosting or SSL renewal — a recurring cost, not a one-time purchase.
Not Sure Which Plugin to Buy — or How to Install It Safely?
BSS's nopCommerce engineers can vet a plugin for compatibility and performance before you buy, handle the staging-to-production install for you, or build the custom feature the Marketplace doesn't have. Tell us what you need and we'll match you with the right developer.
Frequently Asked Questions
Final Thoughts
The nopCommerce Marketplace can save you weeks of development time — but only if you treat it like a purchasing decision, not a download button. Confirm version compatibility before anything else, run every serious candidate through the vetting checklist above, and always test on staging before a plugin touches your live store. When nothing on the Marketplace fits — or you'd rather not gamble a checkout flow on an unfamiliar vendor's code — a custom-built plugin or a second opinion from BSS's nopCommerce engineers is usually the safer bet.