You bought a plugin on Friday. It is a zip file in your downloads folder, the vendor's install note is two lines long, and on Monday the marketing team expects the new payment option, the shipping calculator or the product-page widget to be live on the storefront. The question is how to install the nopCommerce plugin without taking checkout down in the middle of the morning.
The good news is that plugin installation in nopCommerce 4.80 is a short, repeatable process once you know its shape. The bad news is that the admin hides two traps: installed is not the same as active, and a plugin that is packaged even slightly wrong simply does not appear, with no error message to tell you why.
What this guide covers: the checks to run before you touch production, what "upload", "install" and "restart" each actually do, the two ways to get a plugin onto the server, the second switch that payment, shipping and widget plugins need, and a diagnosis path for a plugin that will not show up or will not install.
It is written for the person with admin access who has to make it work — a store owner, an operations lead or a developer doing it for the first time.
Before you install: three checks that save a weekend
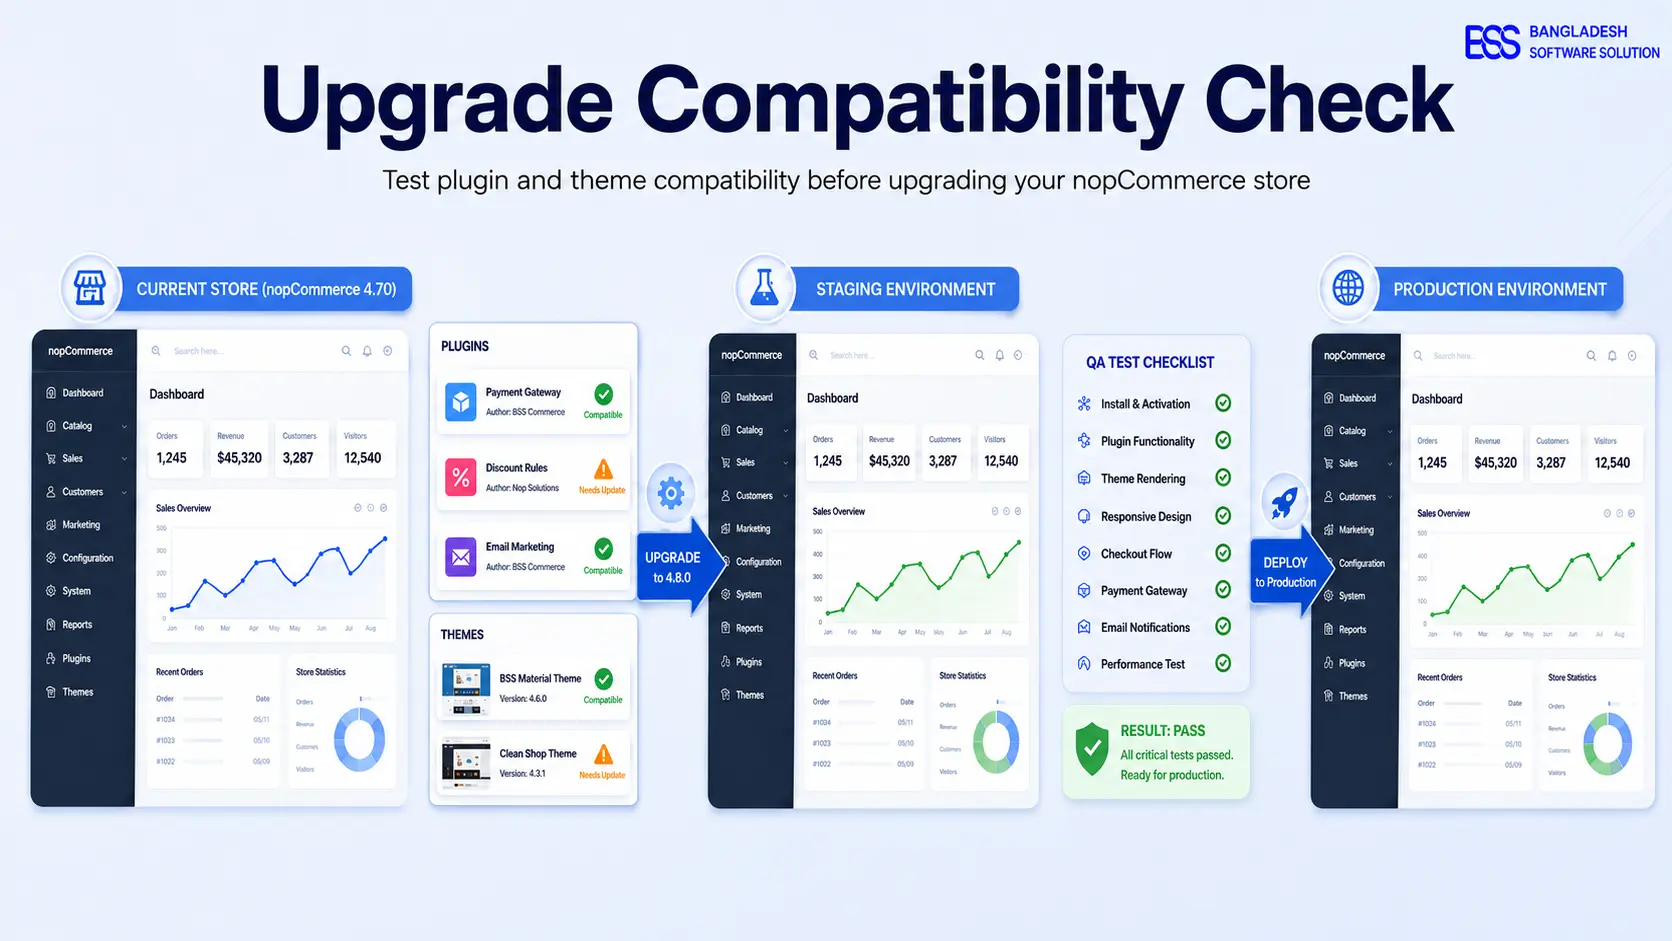
Most failed plugin installs we are asked to rescue did not fail at the Install button. They failed earlier, when a plugin built for a different version, or with no rollback plan, went straight onto the live store. Five minutes of checking beats an evening of restoring.
plugin.json and will not load a plugin that does not list yours.How to read a plugin's version before you upload it
Open the zip and find the plugin's folder. Inside it sits a small file called plugin.json — nopCommerce's description of the plugin. According to the official nopCommerce documentation, the current nopCommerce version must appear in SupportedVersions for the plugin to load. A real example from a payment plugin looks like this:
{
  "Group": "Payment methods",
  "FriendlyName": "PayPal Commerce",
  "SystemName": "Payments.PayPalCommerce",
  "Version": "4.70.1",
  "SupportedVersions": [ "4.70" ],
  "Author": "nopCommerce team",
  "DisplayOrder": -1,
  "FileName": "Nop.Plugin.Payments.PayPalCommerce.dll",
  "Description": ""
}
That file says "4.70", so this particular build belongs on a 4.70 store. For a 4.80 store you want "4.80" in the list. Group is also worth noting: it is the category you will filter by on the Local plugins page, and SystemName is the plugin's unique internal name.
Don't just edit the version number
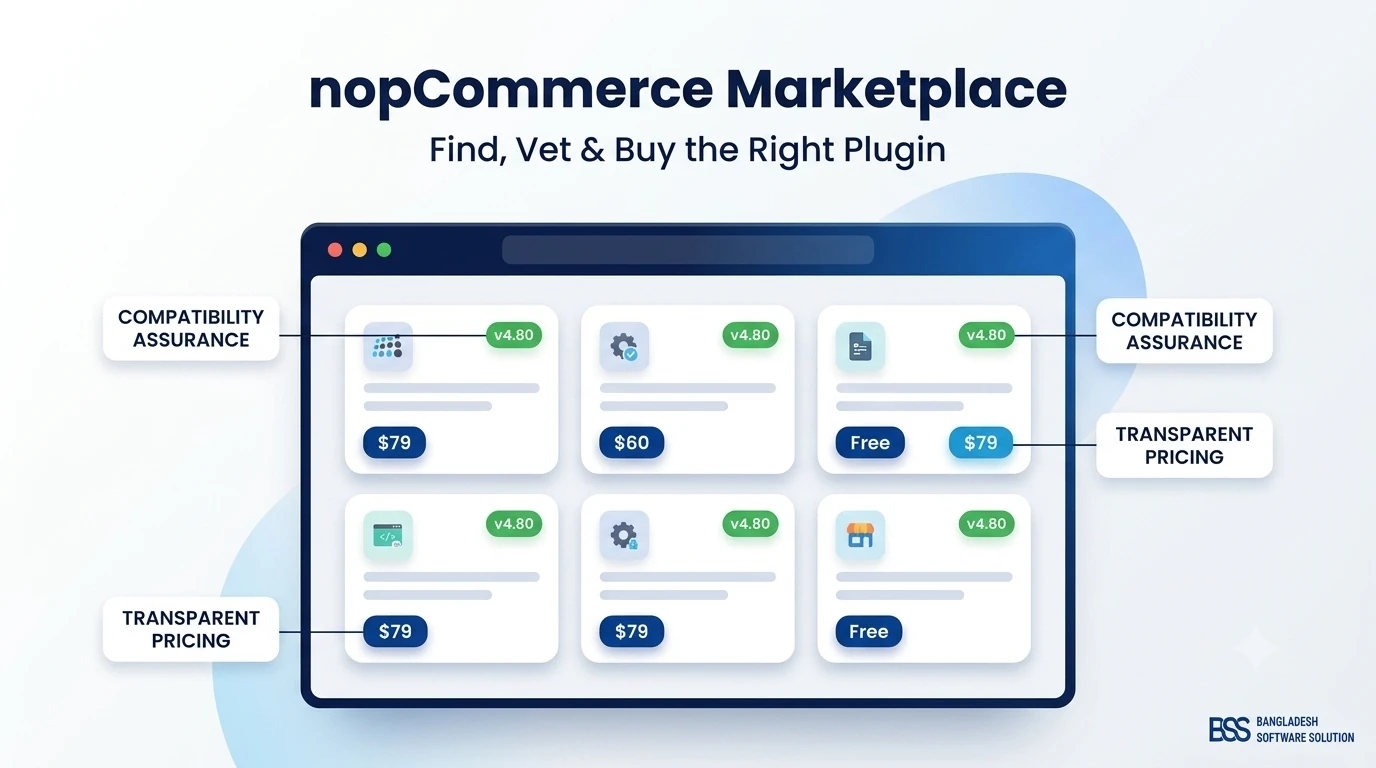
Changing "4.70" to "4.80" in SupportedVersions will make the plugin appear, but it was compiled against the older version's code, and 4.80 runs on .NET 9. It may install and then fail at checkout. Ask the vendor for the 4.80 build instead — the nopCommerce Marketplace guide covers how to confirm version support before you buy.
What "upload", "install" and "restart" actually do
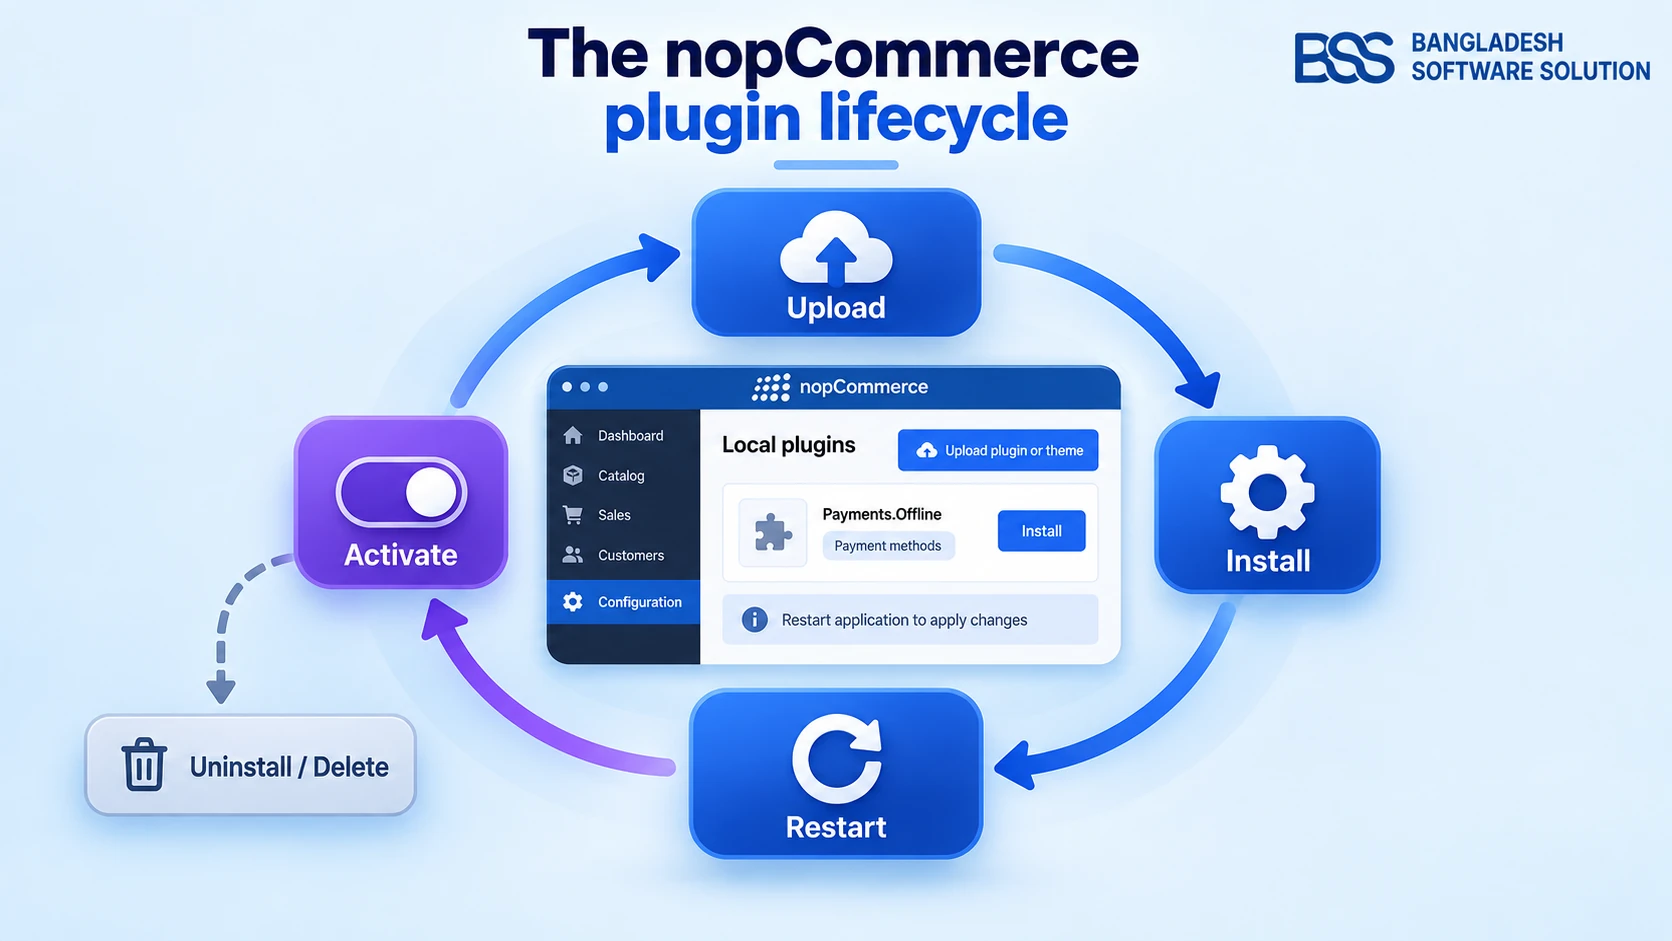
With the right build in hand, it helps to know what the admin is doing behind each button, because every failure in the troubleshooting section below maps to one of these stages. The picture at the top of this article shows the whole loop; here it is in words.
/Plugins folder. Nothing runs yet. The plugin appears in Local plugins as "not installed", and your store behaves exactly as before.App_Data/plugins.json.Installed is not the same as active. Most "the plugin doesn't work" tickets are a plugin that was installed and never switched on.
BSS Engineering
Step by step: install a plugin from the admin panel
This is the route for almost everyone. It needs nothing but an admin login and the plugin's zip file, and it is the method the nopCommerce documentation describes first.
- Open Local plugins. In the admin area go to Configuration → Local plugins. This page lists every plugin in
/Plugins, installed or not. - Upload the archive. Click Upload plugin or theme, choose the zip file from your computer and confirm. Upload the zip as the vendor shipped it — don't unpack and re-zip it.
- Find the plugin in the list. Filter by Group (for example "Payment methods" or "Widgets") or search by name. It shows as not installed.
- Click Install. nopCommerce runs the plugin's setup and flags that a restart is needed.
- Restart the application. Click Restart application to apply changes. The store is briefly unavailable while it restarts, so do this in a quiet hour.
- Configure it. Back on Local plugins, the plugin now shows as installed; click Configure to enter API keys, account IDs or display settings.
- Activate it where it lives. If it is a payment, shipping, tax, widget or external sign-in plugin, switch it on in its own screen (next section).
- Test the storefront. Walk the path the plugin changes, in a private browser window, as a customer would.
What a good plugin archive looks like
Open the zip before you upload it. You should see the plugin's own folder, and plugin.json should sit directly inside that folder next to the plugin's .dll. An archive that wraps it in an extra folder layer, or scatters the files loose at the top, is the most common reason a plugin uploads "successfully" and then never appears in the list.
Editing the plugin's name, order and who can see it
Next to each installed plugin, Edit lets you change its friendly name and display order, enable or disable it, and limit it to specific stores or customer roles. That is how you offer a payment method only to wholesale customers, or only on one storefront of a multi-store install. Per the nopCommerce documentation, those limits only take effect if the sitewide Ignore ACL rules and Ignore "limit per store" rules settings are turned off.
Alternative: copy the plugin into /Plugins yourself
Sometimes the admin upload is not an option. Large archives can hit the web server's request size limit, some hosting setups block uploads from the admin, and developers deploying their own builds usually copy files rather than zip them up. The official documentation supports this route too: put the plugin's folder into /Plugins and restart the application.
After the files are in place, open Configuration → Local plugins. If the plugin is not listed, click Reload list of plugins — it restarts the application and rescans the folder. Then carry on from the Install step above exactly as before.
| Approach | Good for | Watch out for | Effort |
|---|---|---|---|
| Admin upload | Store owners and admins installing a vendor's zip | Request size limits on large archives; badly packed zips never appear | Low |
| Manual copy to /Plugins | Developers, large plugins, locked-down hosting | Needs server or FTP access; wrong folder depth; file locks while the site runs | Medium |
| Installed by a nopCommerce team | Revenue-critical plugins such as payments and shipping, or several plugins at once | Needs a staging copy and a short hand-over so you know what changed | Lowest for you |
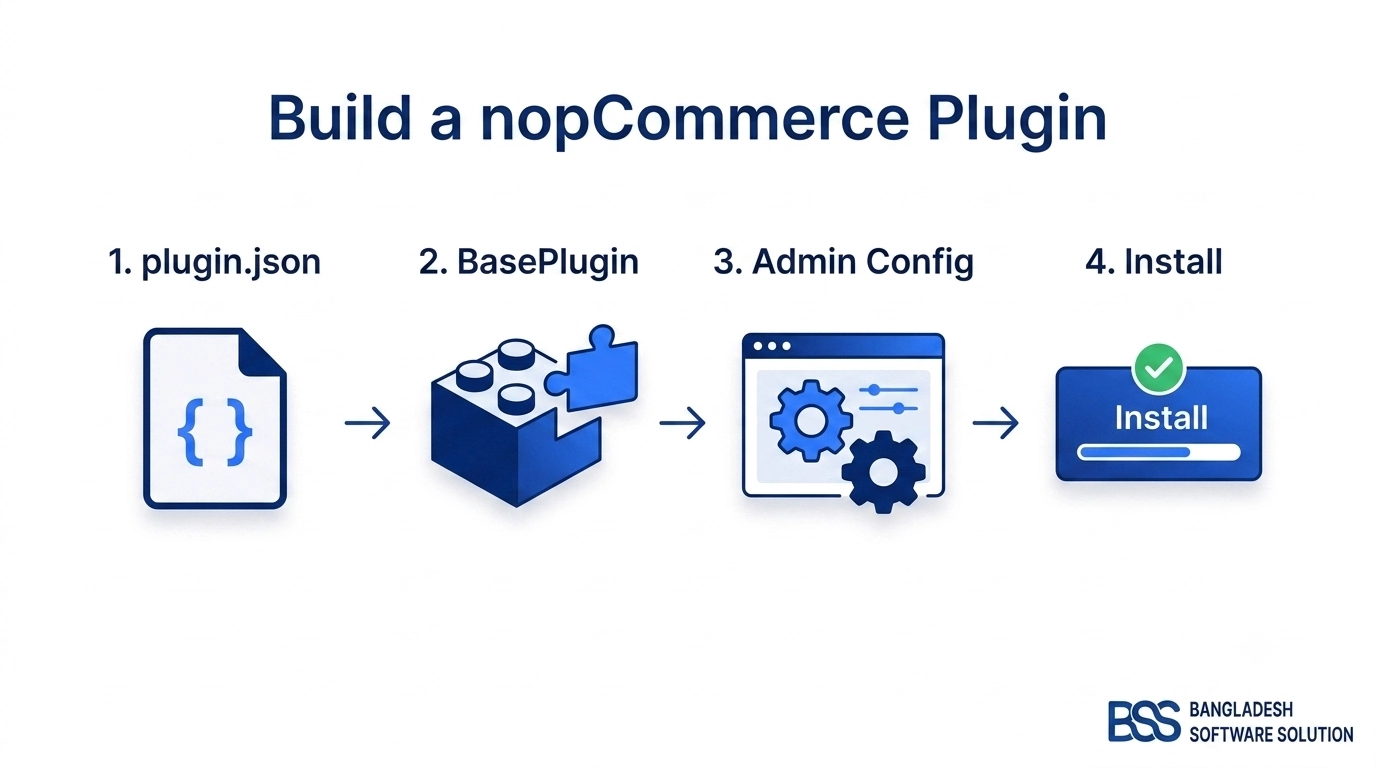
If you are the developer and the plugin is your own code, the build itself can write straight into this folder. Our guide to creating a plugin in nopCommerce 4.80 shows the project setup that outputs to Presentation/Nop.Web/Plugins, so a fresh build turns up in Local plugins ready to install.
Activate and configure: the second switch most people miss
Back to Monday morning: the plugin installed cleanly, the restart went fine, and the new payment option is still nowhere on the checkout page. This is the moment the "installed is not active" rule bites. Several plugin types have their own on/off switch, separate from Local plugins, because a store can have many of them installed and choose which to offer.
| Plugin type | Where to switch it on | What "on" means |
|---|---|---|
| Payment methods | Configuration → Payment methods → Edit → Is active | The method appears at checkout |
| Shipping | Configuration → Shipping → Shipping providers | The provider's rates are offered at checkout |
| Widgets | Configuration → Widgets | The widget renders in its widget zones |
| Tax | Configuration → Tax → Tax providers | Becomes the provider that calculates tax |
| External sign-in | Configuration → External authentication | The sign-in button shows on the login page |
A payment plugin is the clearest example: after install you still open Configuration → Payment methods, edit the method, tick Is active, and save. For a full worked setup of one, including sandbox credentials and a test order, see setting up PayPal in nopCommerce. If your plugin is a widget and you want to understand why it shows on some pages and not others, our explainer on widget zones walks through exactly that.
When the plugin won't show up or won't install
If you have followed every step and something is still wrong, the fault almost always sits at one stage of the loop — the files, the version, the setup code or the restart. Work through it in that order; the decision tree below is the same path we follow on a support call.
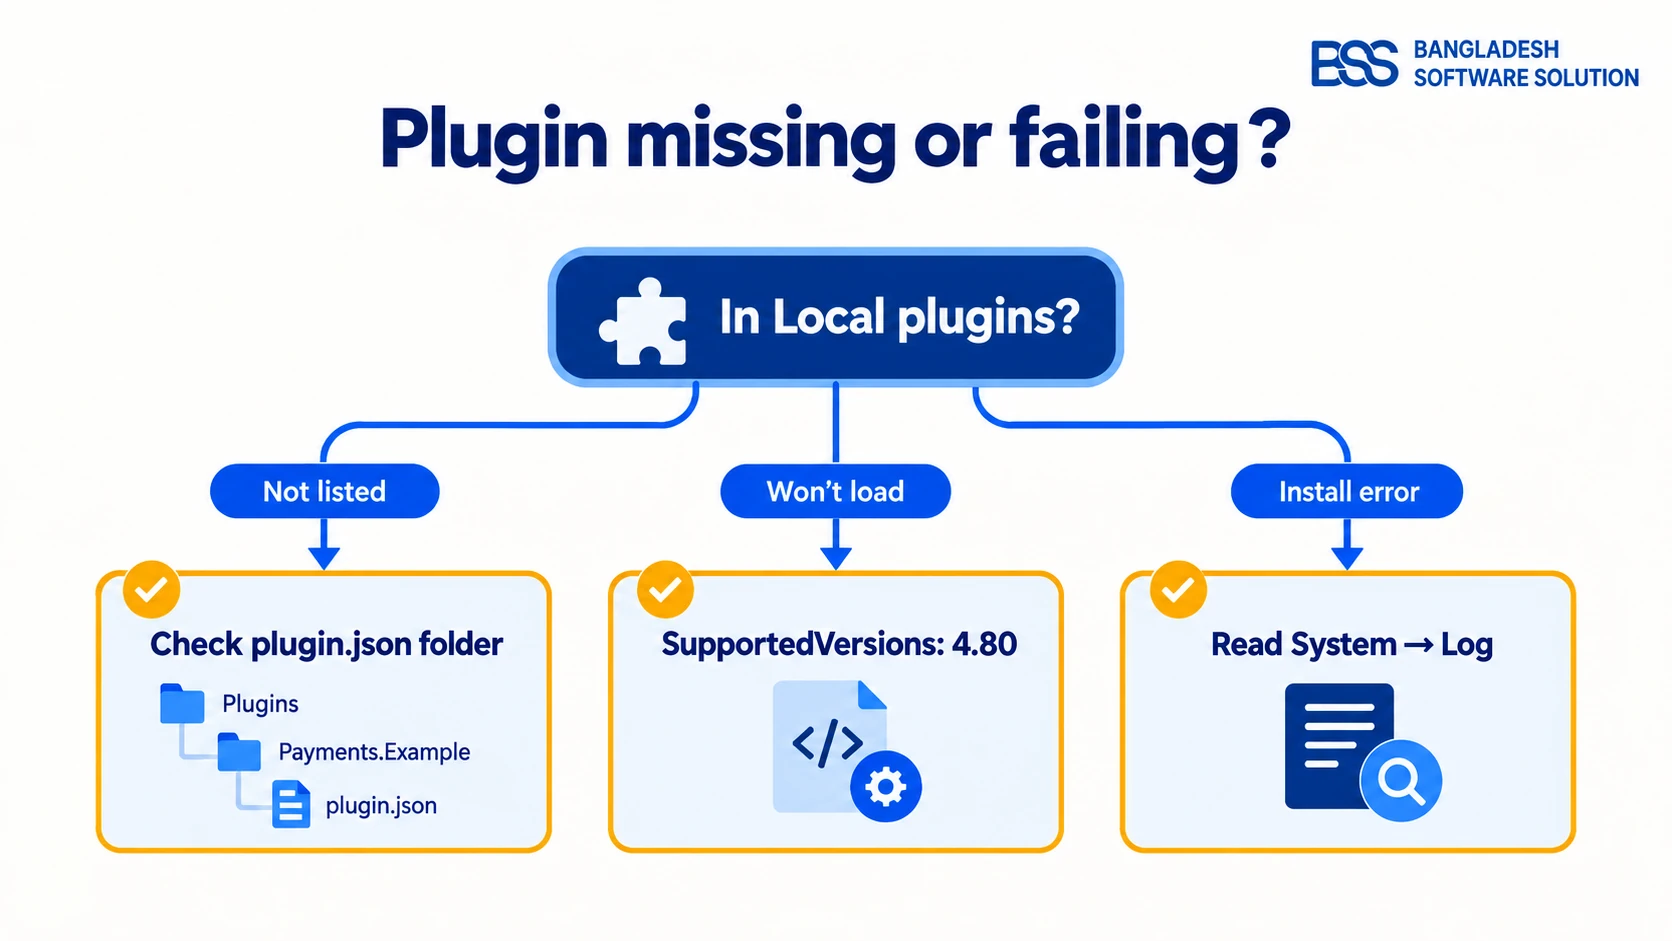
/Plugins/<PluginFolder>/plugin.json, not one level deeper or shallower. Confirm plugin.json exists and is valid, then click Reload list of plugins.SupportedVersions does not include 4.80, nopCommerce will not load it. Get the 4.80 build from the vendor rather than editing the file./Plugins and restart; the store comes back without it. Then restore from your backup if the install had already changed the database.Plugins that start failing after a nopCommerce upgrade rather than a fresh install are a different problem, with a different fix. For that, see how to test plugin and theme compatibility before upgrading.
Uninstalling and removing a plugin cleanly
Every plugin you install is one you may one day replace, so it is worth knowing how the exit works before you need it. Local plugins has two separate buttons for this, and they do very different things.
The nopCommerce documentation recommends uninstalling plugins you are not using, since every installed plugin is loaded on startup. For a payment plugin with order history attached, though, export anything you need before uninstalling, and do it on staging first.
Plugin install-day checklist
-
plugin.jsonlists 4.80 inSupportedVersions. -
Database and site folder backed up, and you know how to restore them.
-
Installed and tested on staging with the same steps you will use live.
-
Archive checked:
plugin.jsonsits directly in the plugin's own folder. -
Uploaded, installed, and the application restarted in a quiet hour.
-
Configured, then activated in its own screen (payment, shipping, widget, tax or sign-in).
-
Store and customer-role limits set, if the plugin should not apply to everyone.
-
Storefront tested as a customer, and System → Log checked for new errors.
Rather not risk checkout on a Monday morning?
BSS builds and supports nopCommerce plugins every day. Browse ready-made 4.80 plugins in our store, or have our engineers install, configure and test yours on a staging copy before it touches your live checkout.
Frequently Asked Questions
Final Thoughts
Go back to that zip file in the downloads folder. With the version checked, a backup taken and the steps run on staging first, Monday morning becomes routine: upload, install, restart, configure, switch it on in its own screen, and test the storefront as a customer. The payment option is at checkout, the widget is on the product page, and nobody noticed the restart.
If you are still choosing which plugins deserve a place on your store, our round-up of must-have nopCommerce plugins for 2026 is a good next read, and free vs paid nopCommerce plugins helps you decide which ones are worth paying for.